
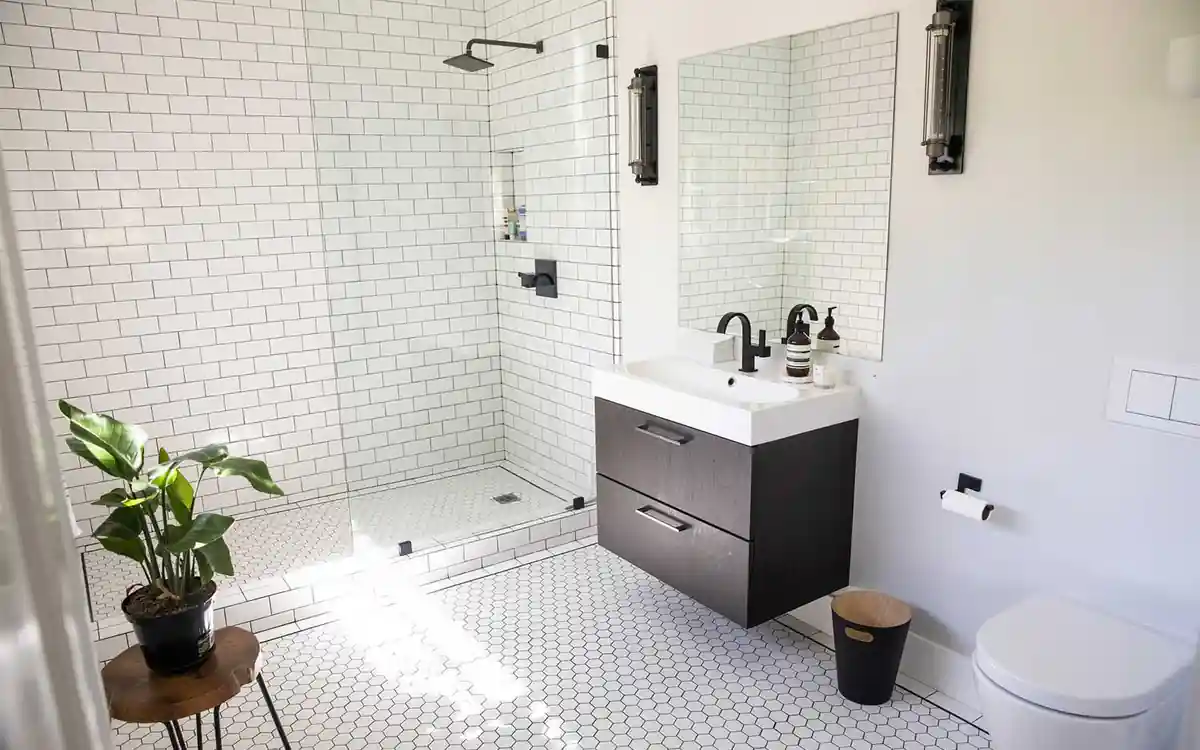
Quick answer
What homeowners need to know
Check doors, drawers, shower entry, toilet space, towel reach, cleaning access and future mobility using verified fixture dimensions.
Mark the standing and transfer zones on the plan instead of judging only the outline of each fixture.
Key takeaways
- Draw the room with fixtures at their real sizes, using the manufacturers' dimension drawings rather than generic symbols.
- Check the space in front of the toilet and vanity, not just beside them.
- Test the plan for cleaning and maintenance as well as daily use.
- A bathroom is a coordinated wet-area system involving waterproofing, falls, plumbing and ventilation.
Bathroom renovation
How to check bathroom layout clearances on a plan
Draw the room with fixtures at their real sizes, using the manufacturers' dimension drawings rather than generic symbols. Include the thickness of wall linings and tiles, because they make the finished room smaller than the framed size. Then draw the swing of every door, drawer and shower screen. Overlapping arcs show where two things cannot be used at the same time.
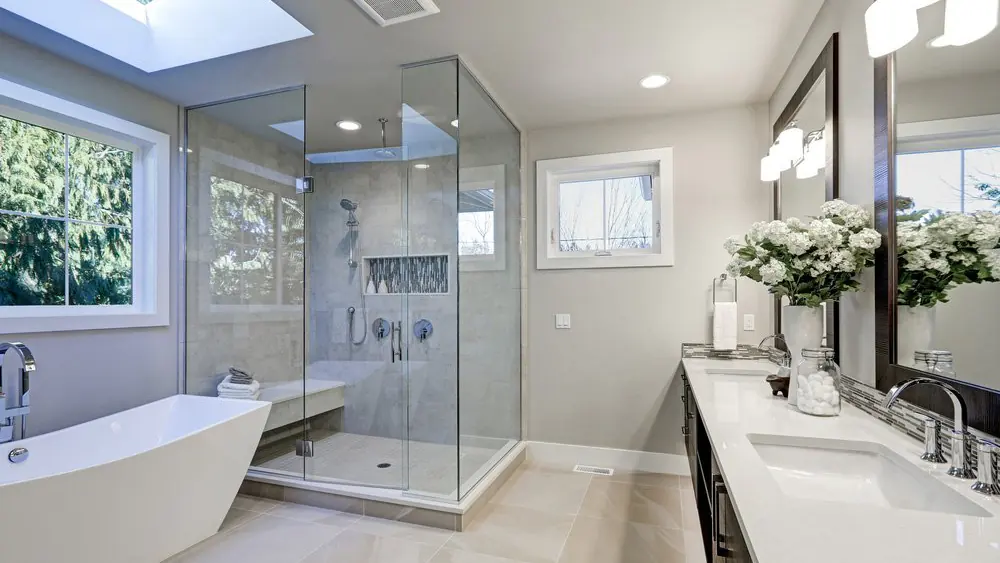
Check the space in front of the toilet and vanity, not just beside them. You need room to stand, sit and bend comfortably, and to open vanity drawers fully without hitting the toilet or door. Position the toilet roll holder and towel rails within reach of where people actually use them. These details are easy to miss on a drawing but noticeable every day.
Test the plan for cleaning and maintenance as well as daily use. Leave enough room to clean around the toilet, reach both sides of the shower glass and open any access panel for an in-wall cistern or plumbing. If the household may need more space in future, such as for a walking frame or a carer, consider whether the layout could adapt without a full rebuild.
Scope before solutions
Decisions to make before committing
Settle these points before an idea becomes an order, contract or construction instruction.
Mark the standing and transfer zones on the plan instead of judging only the outline of each fixture.
waterproofing and substrate condition
amount of tiling and fixture specification
plumbing relocation, ventilation and hidden moisture repair
Practical sequence
A step-by-step planning process
- 01
Define the exact outcome you need and how success will be checked.
- 02
Inspect moisture, substrate, plumbing, ventilation and access before confirming the scope.
- 03
Set the layout and choose fixtures using verified dimensions and service requirements.
- 04
Document waterproofing, lining, tiling, ventilation, electrical and finishing responsibilities.
- 05
Plan inspections, curing time, commissioning and handover records before work begins.
Cost and time
How to build a more reliable budget and programme
A fixed price or completion date needs a measured scope and a site visit. Use qualified practitioners for restricted plumbing, electrical and waterproofing work, and confirm consent requirements for the actual alteration.
Use the calculator, then request a site-specific assessment.
Risk control
Common mistakes to avoid
- A layout can fit on paper but fail when doors and people use the same space.
- treating waterproofing as an isolated trade detail
- selecting fixtures that conflict with door, shower or cleaning clearances
Accuracy and compliance
Use current official information
Primary sources used for this guide
- Building and renovation projectsAuckland Council
- Check if you need consentsBuilding Performance (MBIE)
- Home renovation and repairConsumer Protection New Zealand
Common questions
Frequently asked questions
How do I know if my bathroom layout will work before building?
Use real fixture dimensions on a scaled plan, then draw door, drawer and shower screen swings to look for clashes. Walk through a typical morning on the plan to see where two people might get in each other's way. Taping the layout on the floor at full size is a simple final test before work begins.
Which way should a bathroom door open?
An outward-opening or sliding door often frees up space in a small bathroom and makes it easier to reach someone who has fallen inside. An inward door can work if it does not hit the toilet, vanity or a person using them. Check there is enough hallway space before choosing an outward swing.
How much space should there be between a toilet and a vanity?
There should be enough space to sit on the toilet without knees or shoulders hitting the vanity, and to open the vanity drawers fully. The right gap depends on the fixtures and the people using the room. Check each manufacturer's recommended clearances and test the layout at full size before plumbing is set out.